
Inspiration & Process
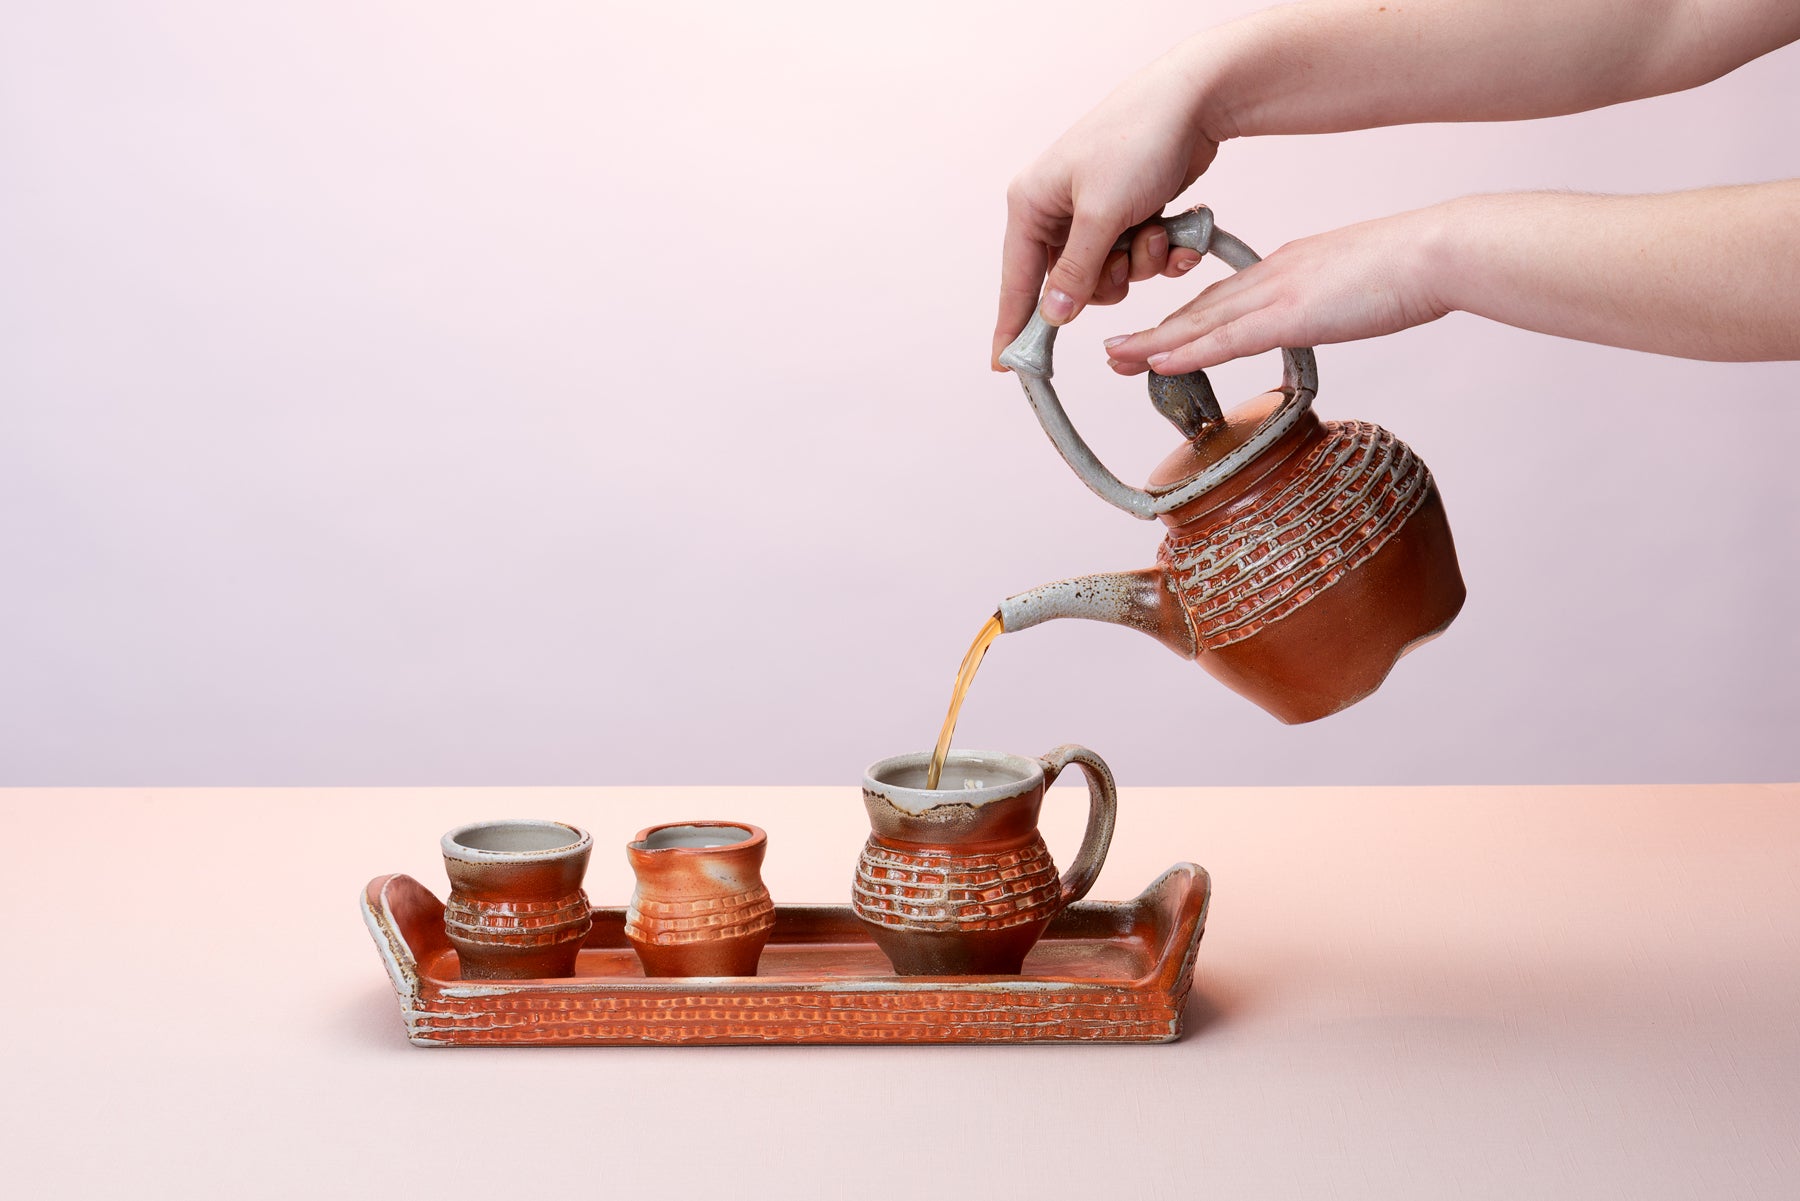
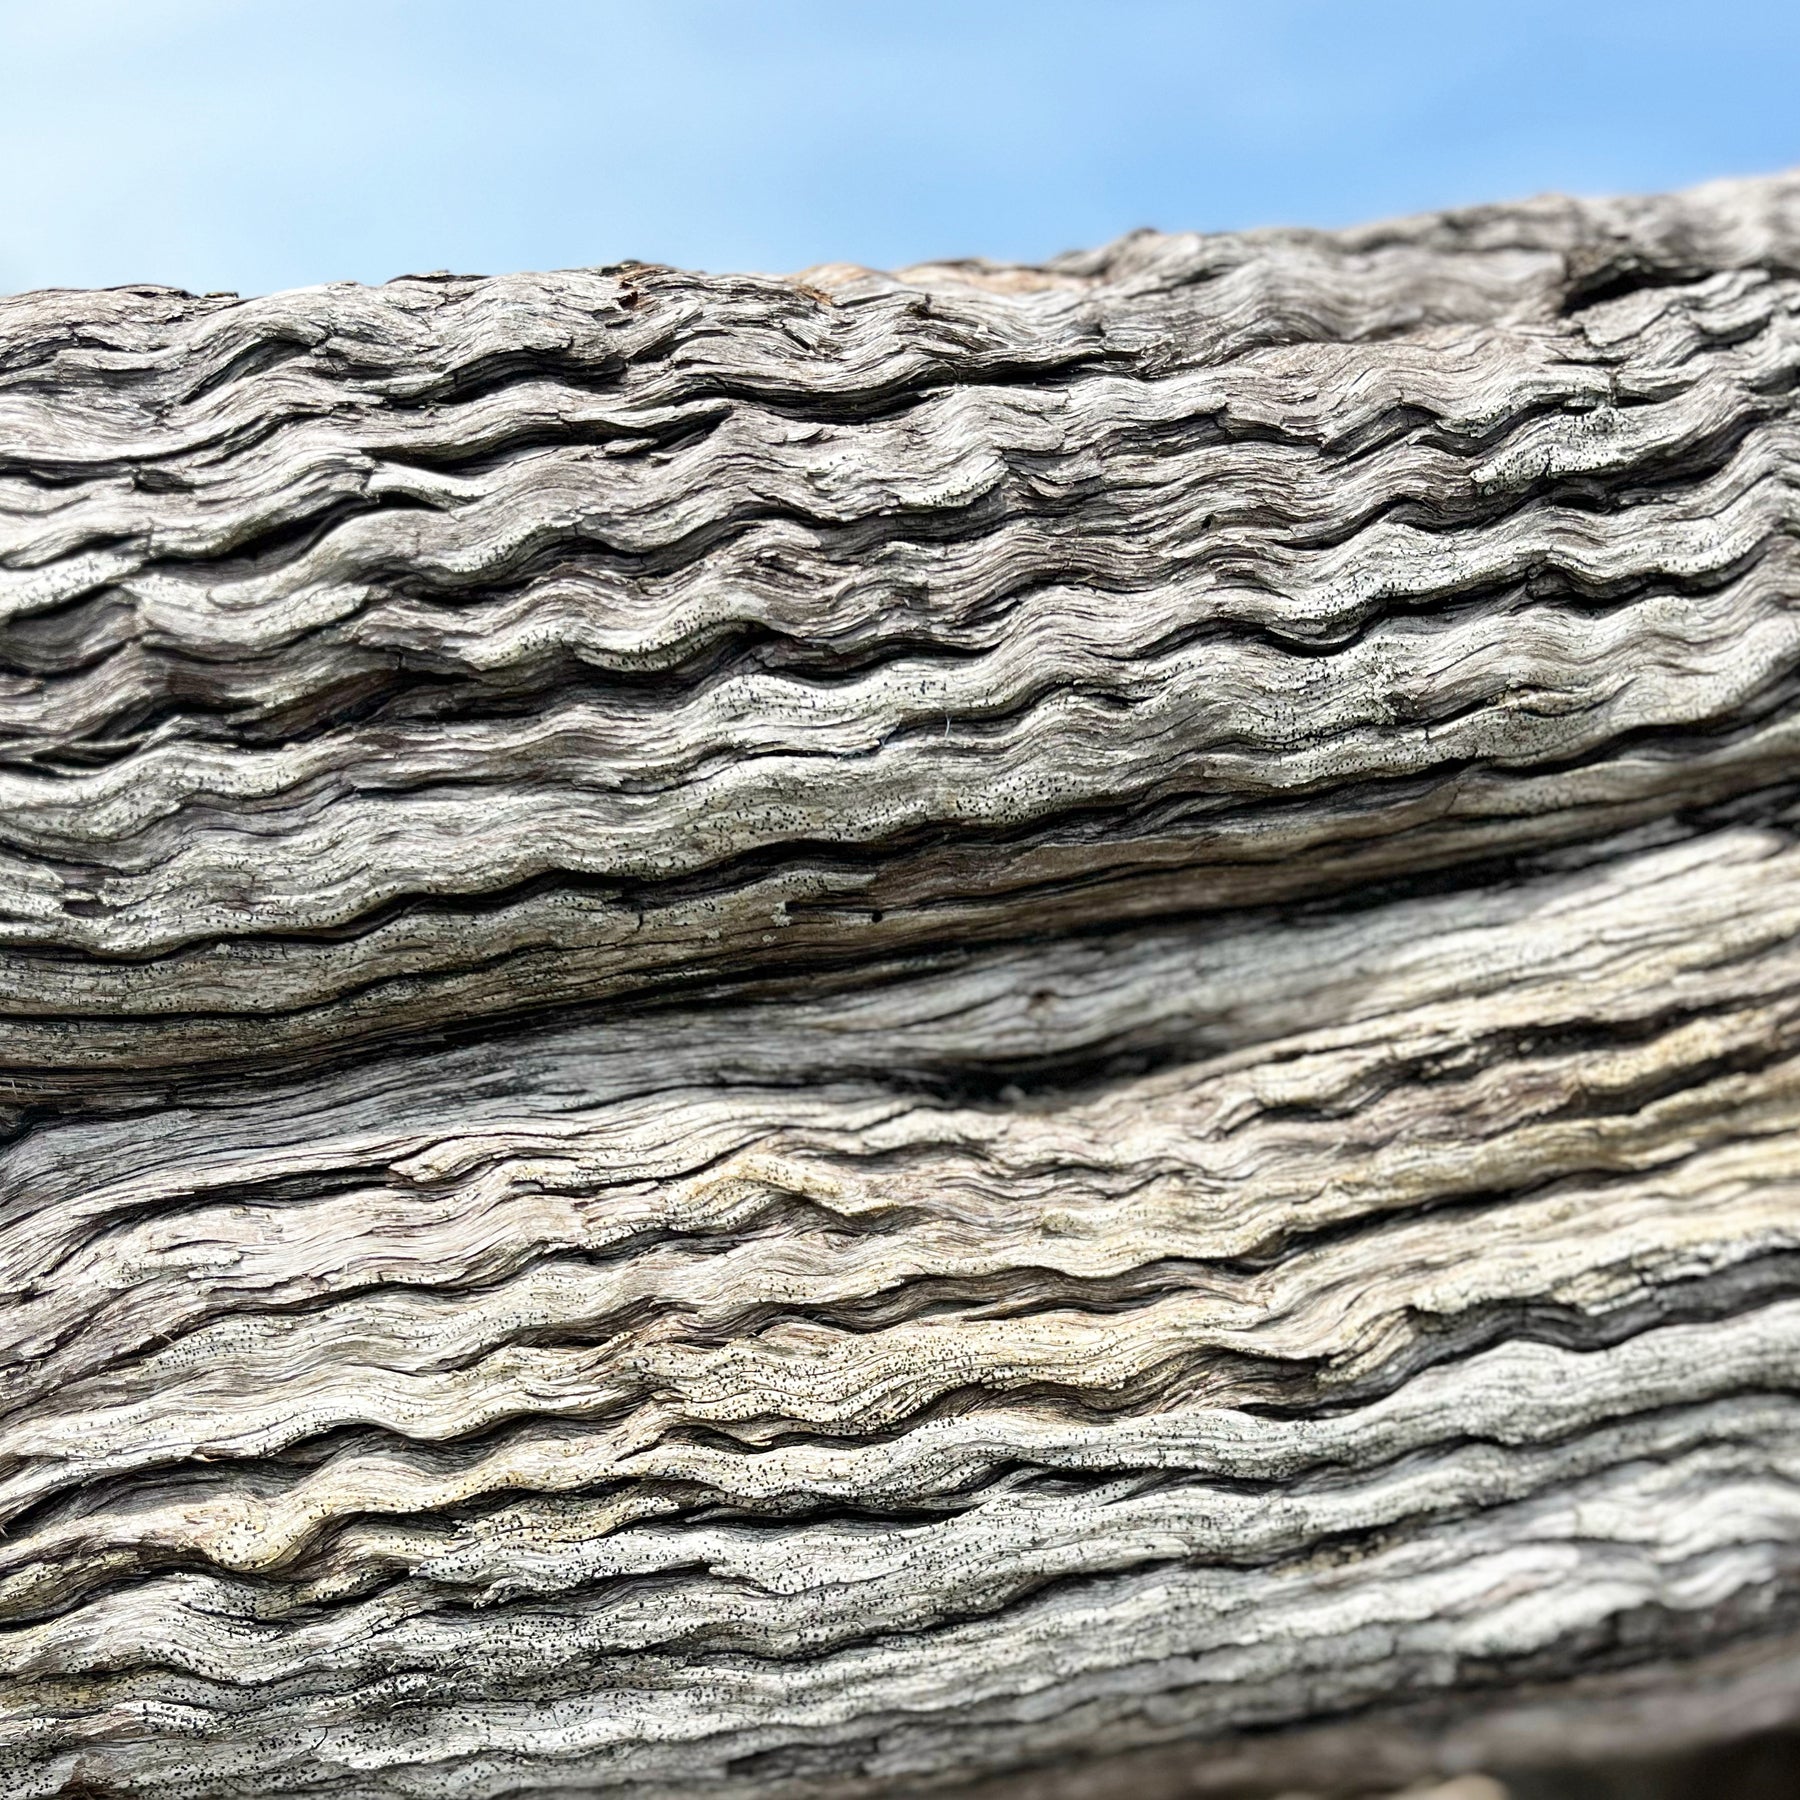
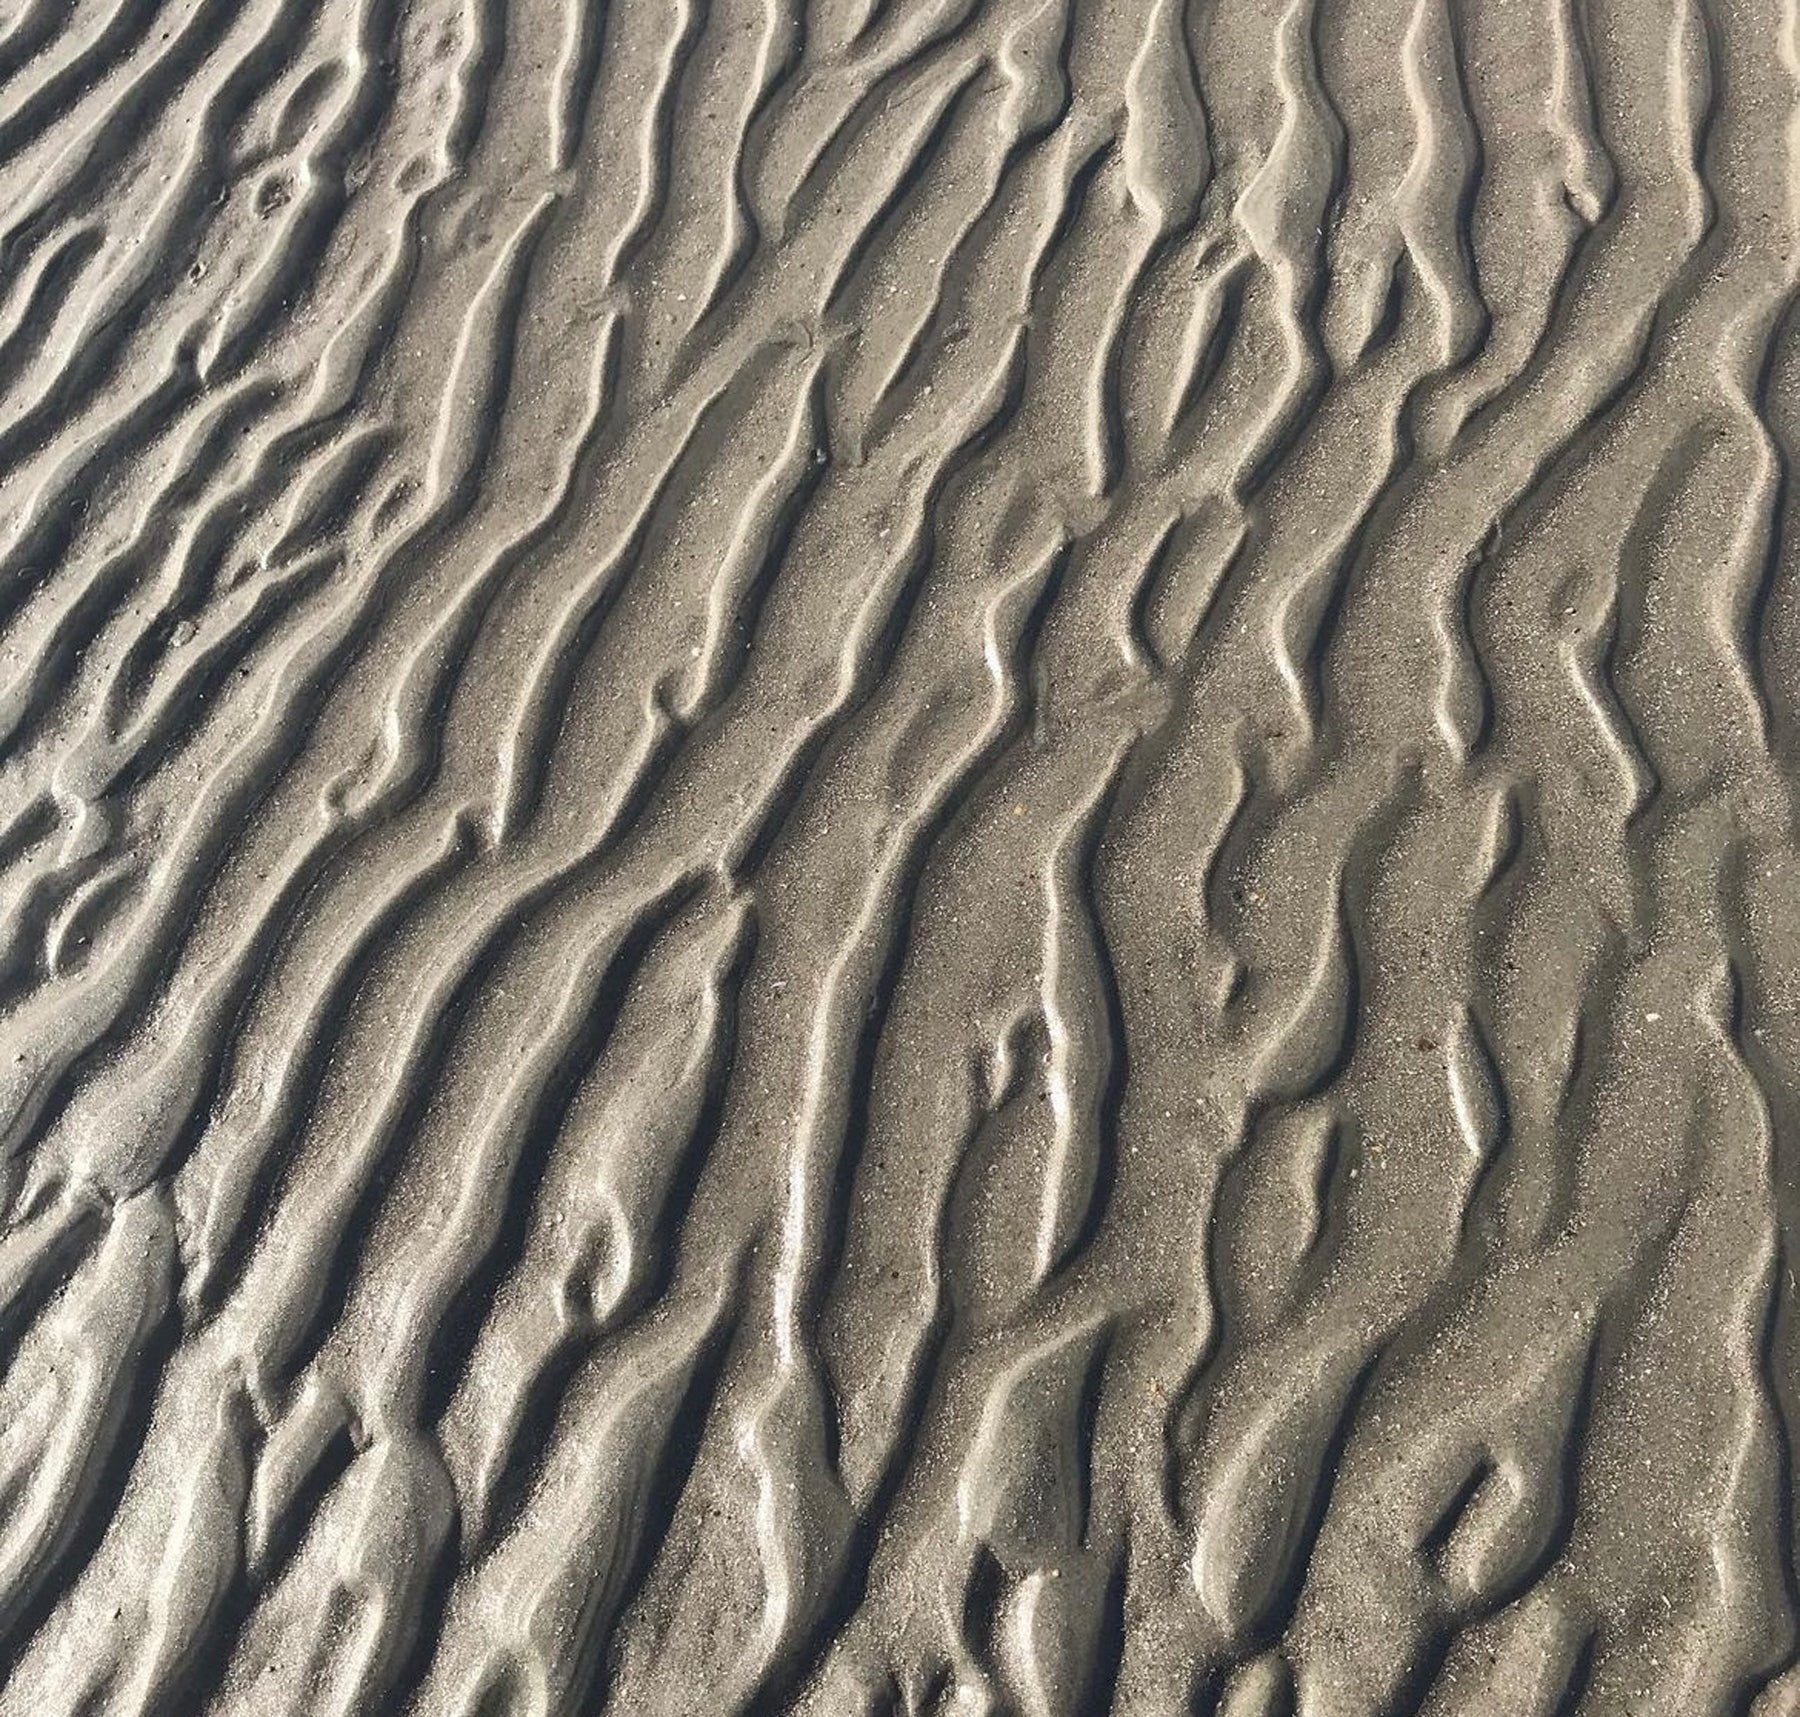
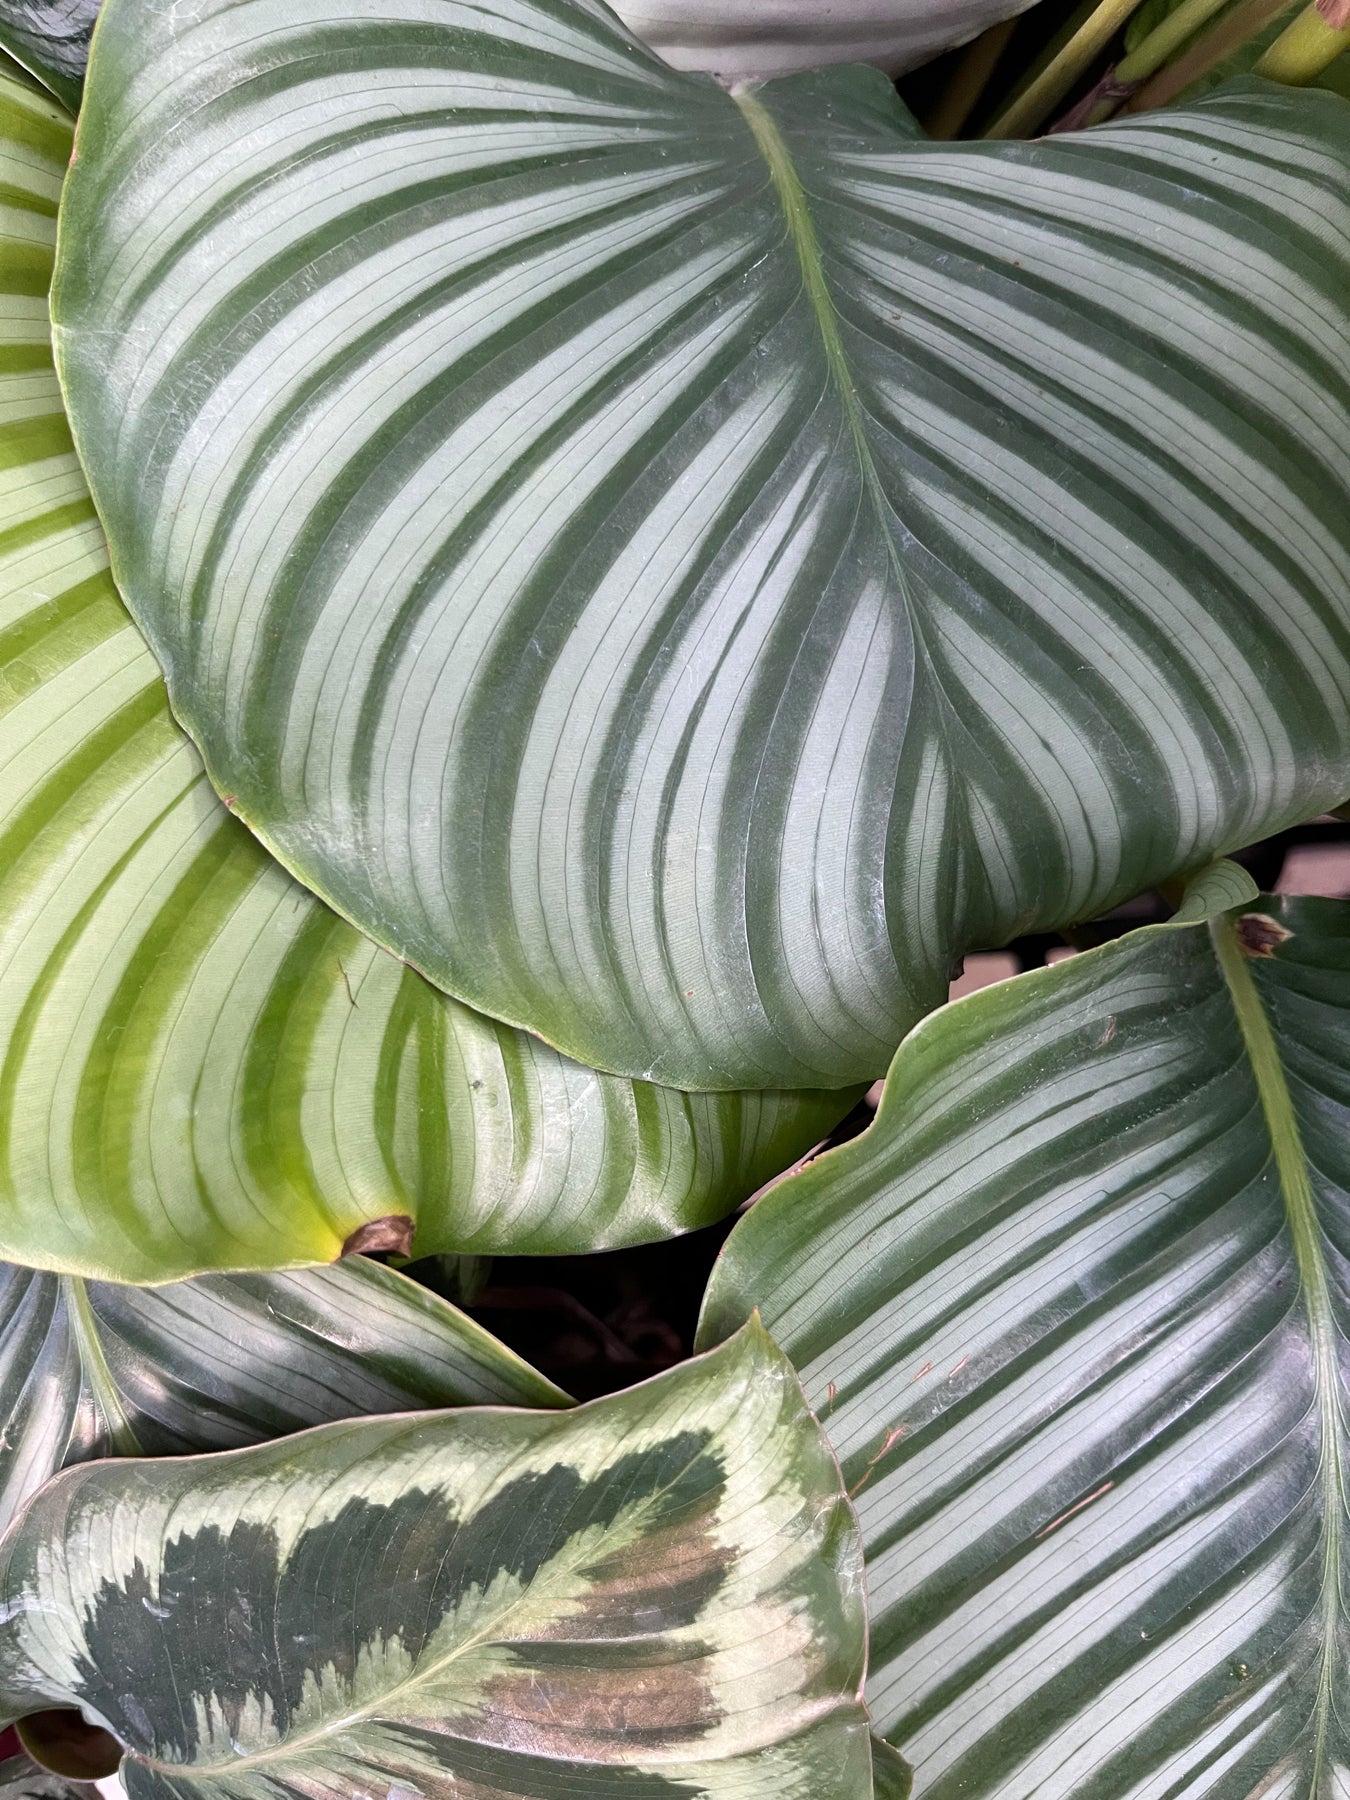
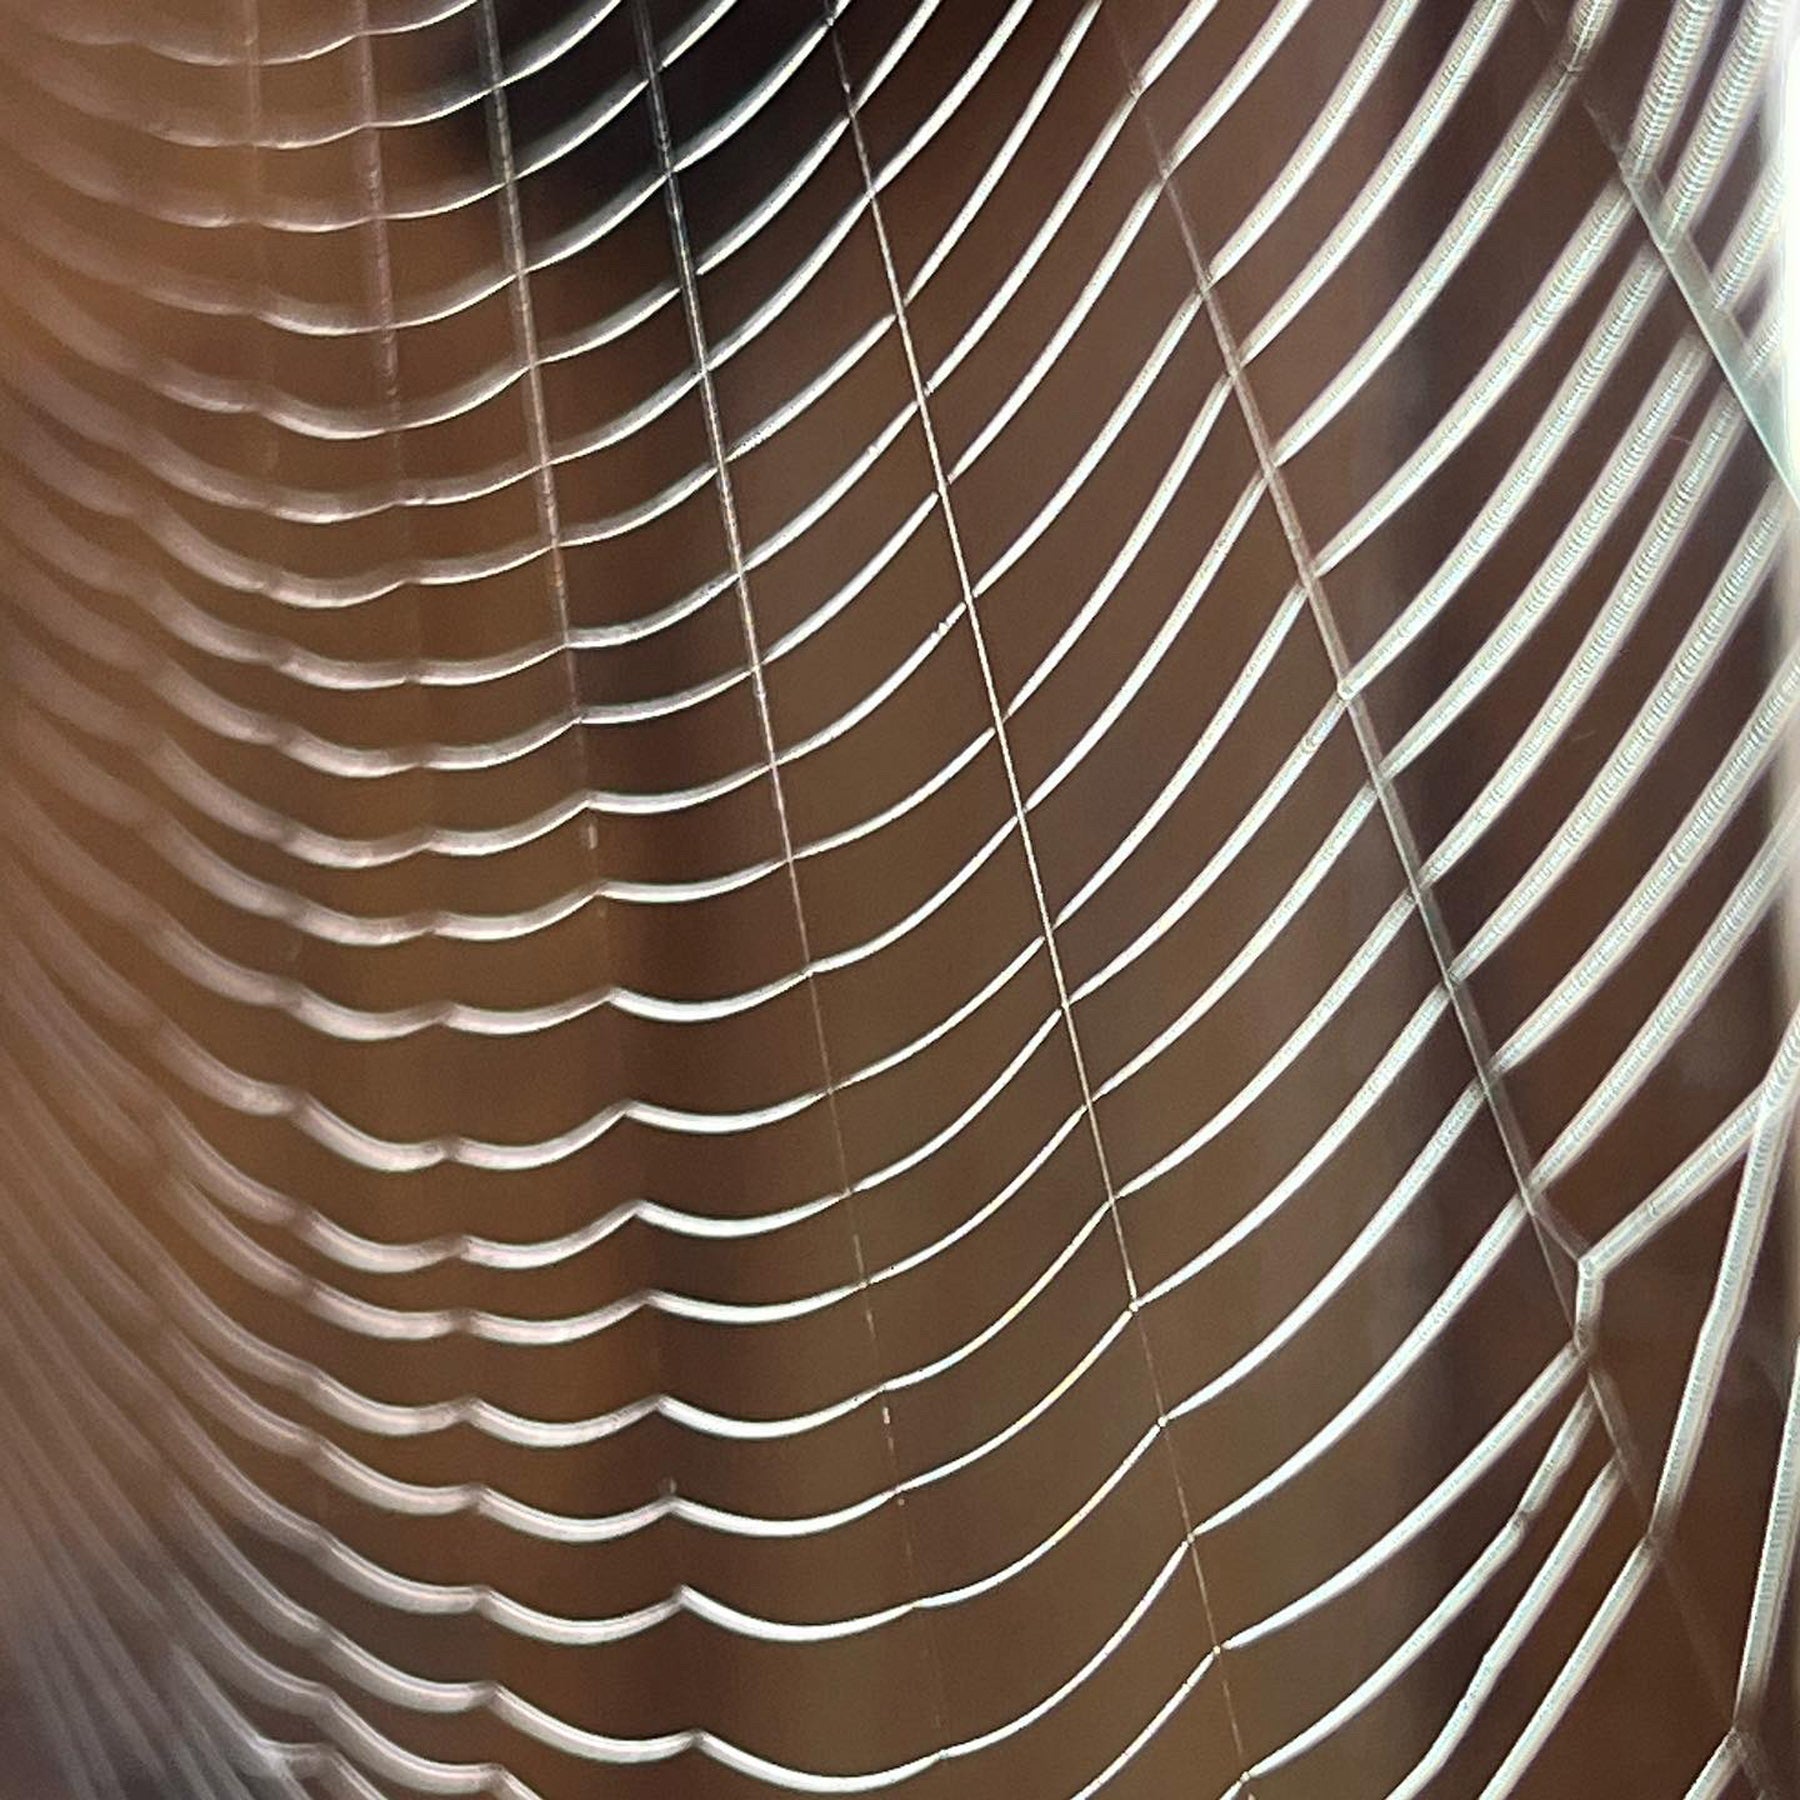
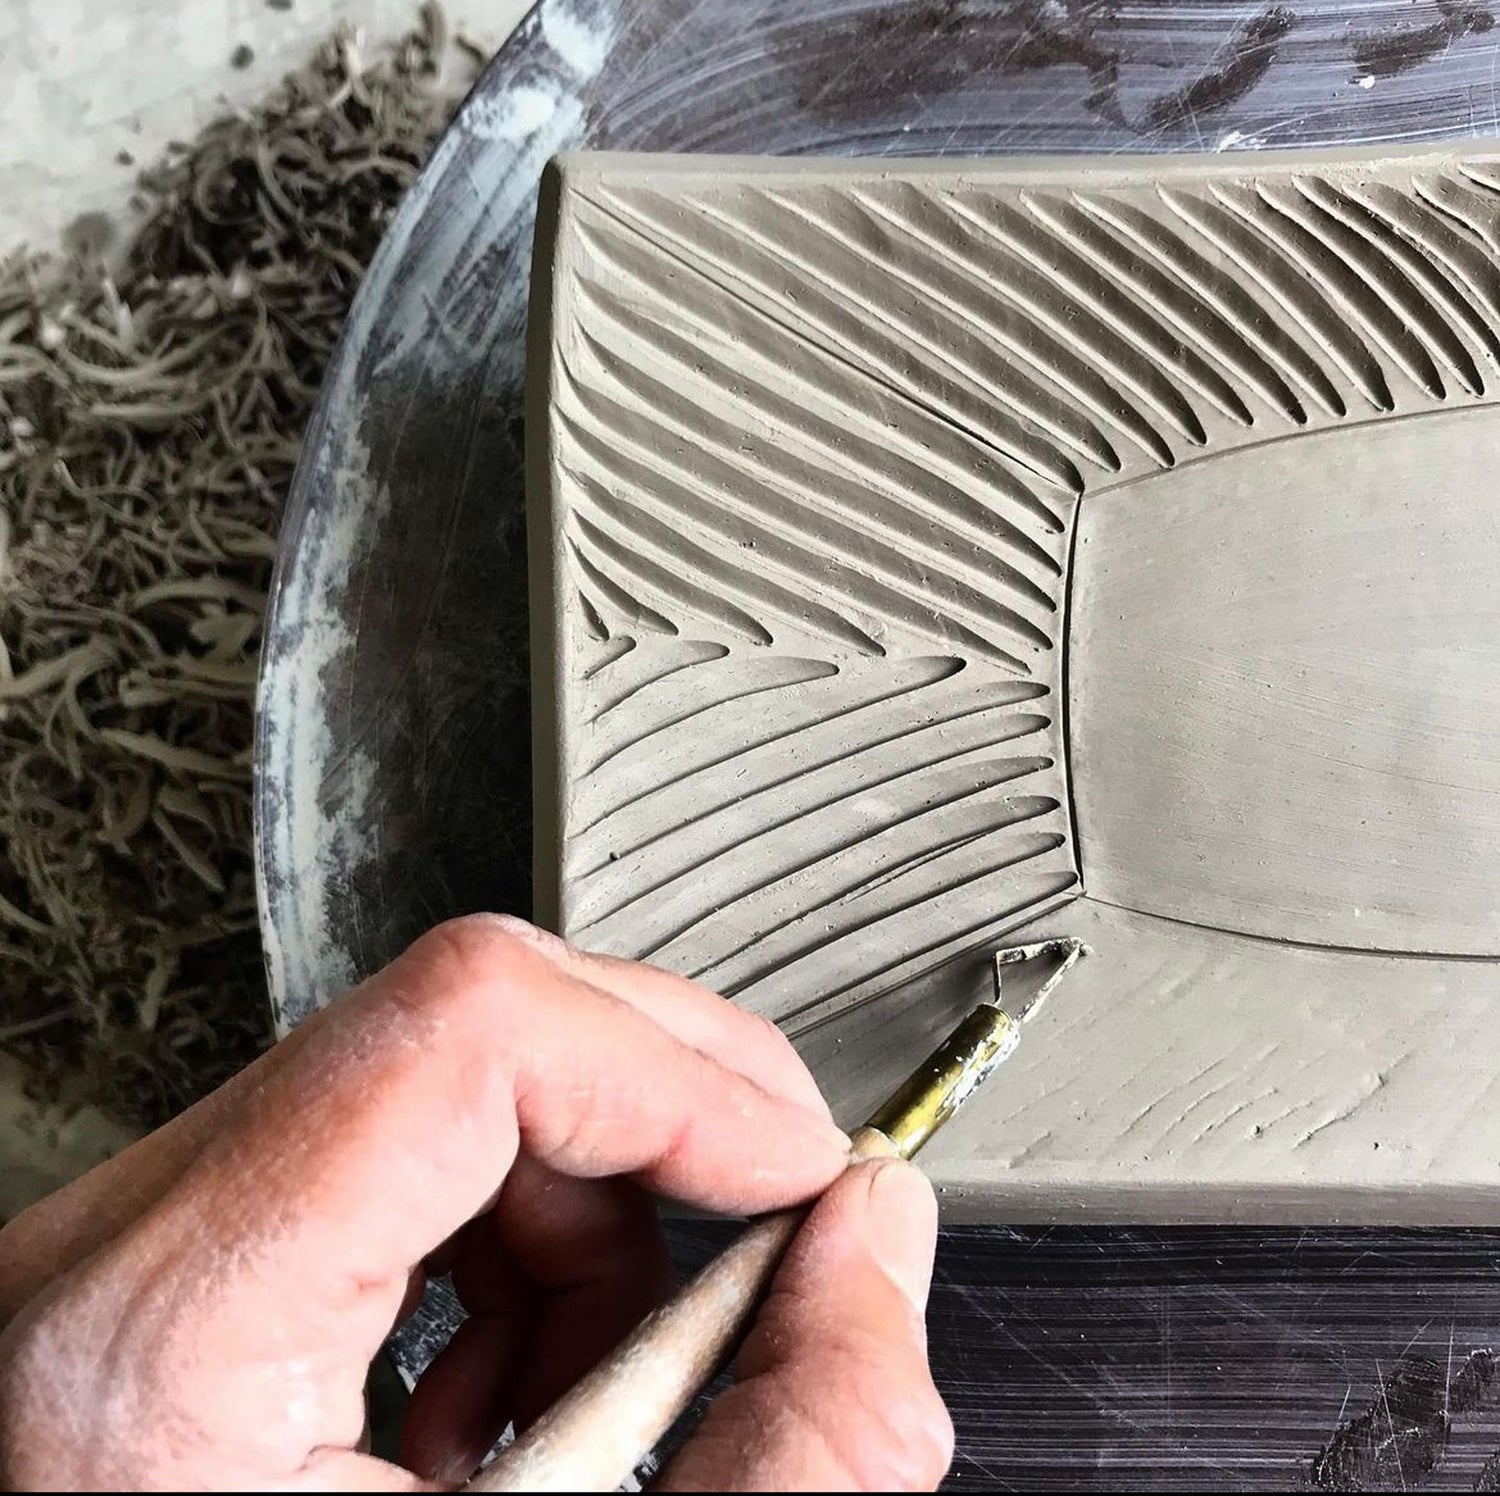
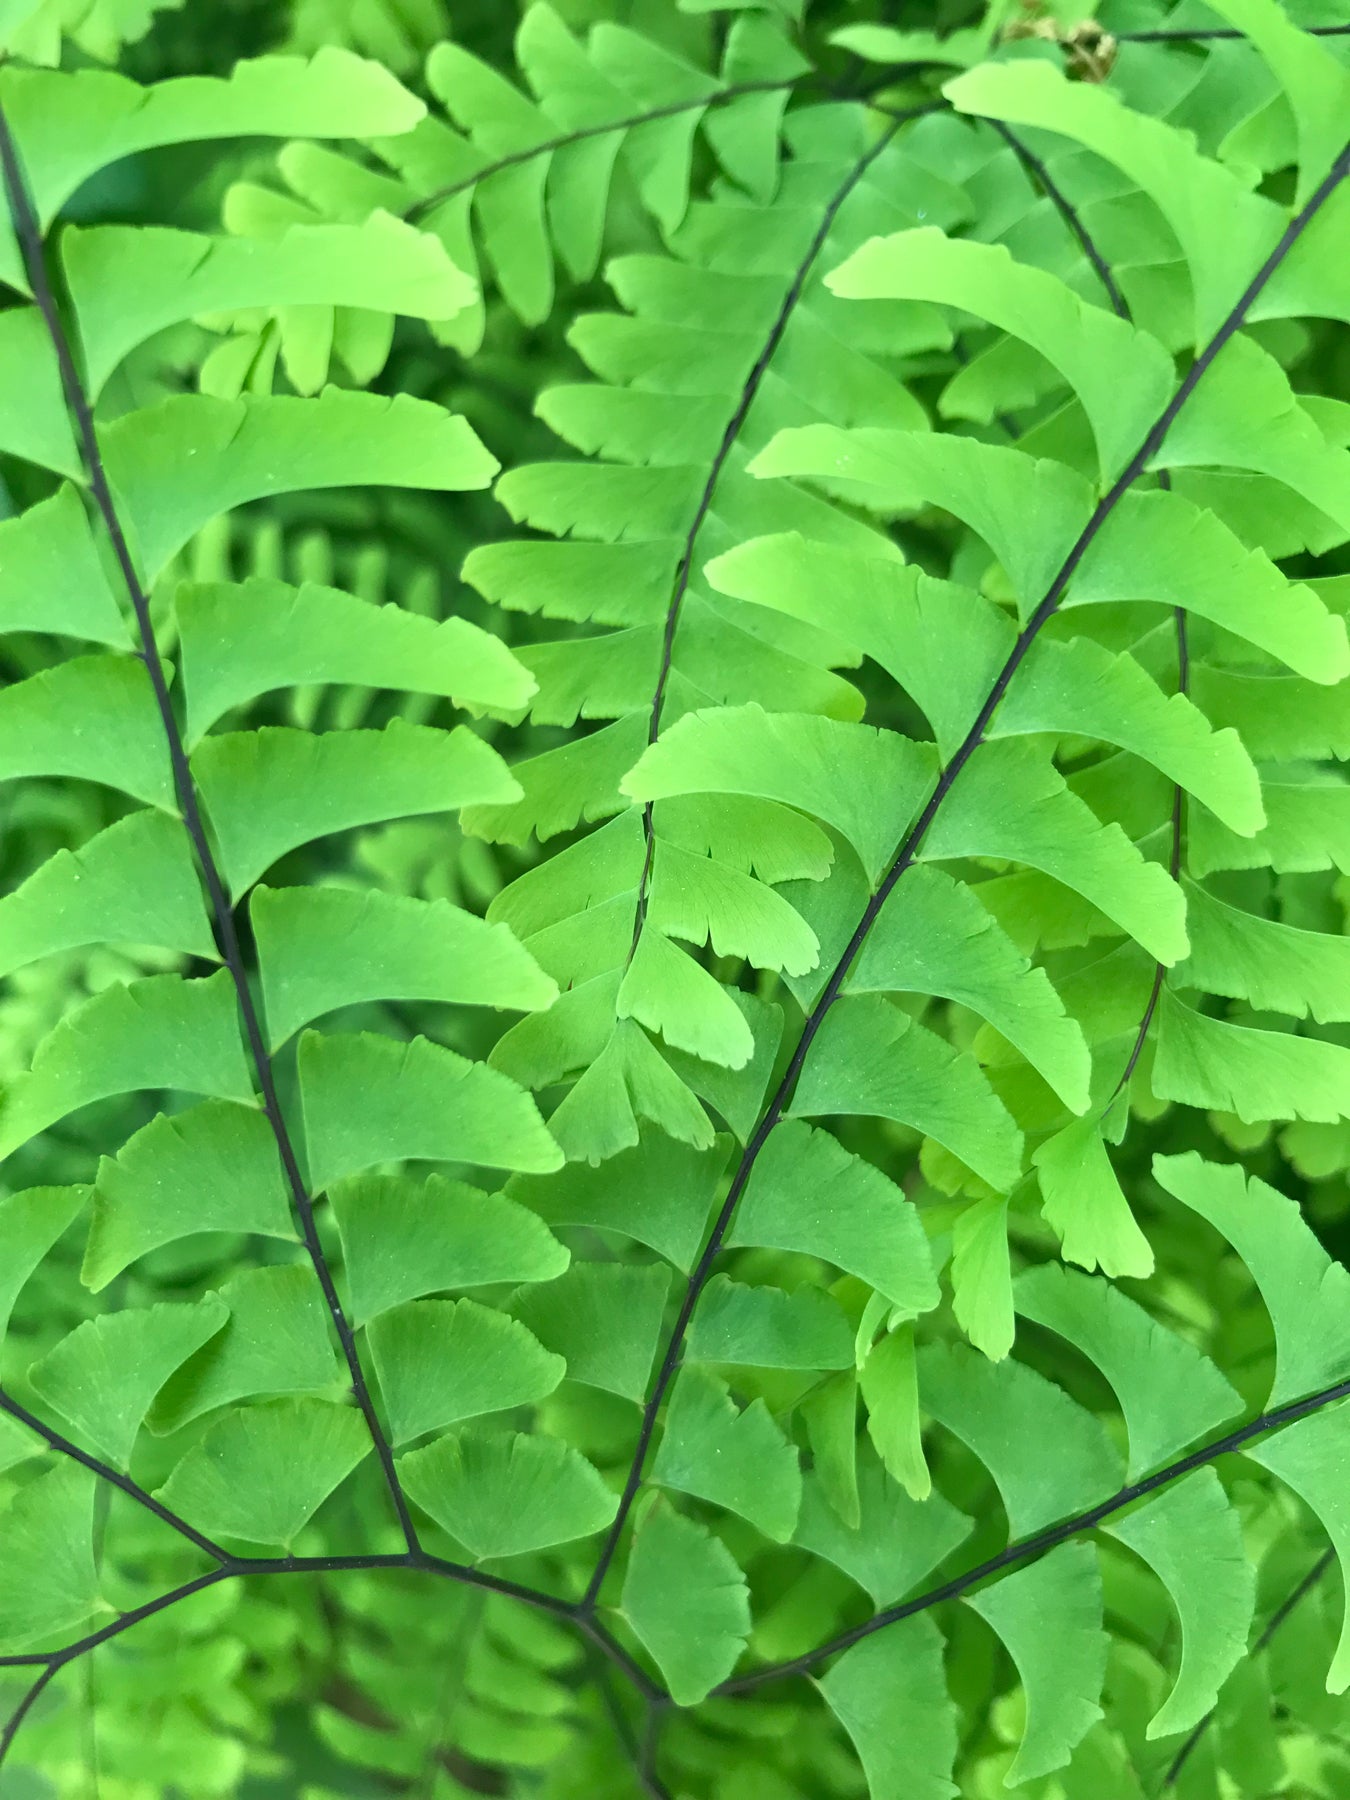
The hand carved patterns and textures in my work are direct reflections of the nature and inspirations I find surrounding me. I strive to bring this awareness of the beauty of nature full circle, directly into the hands of people holding and using my pots.


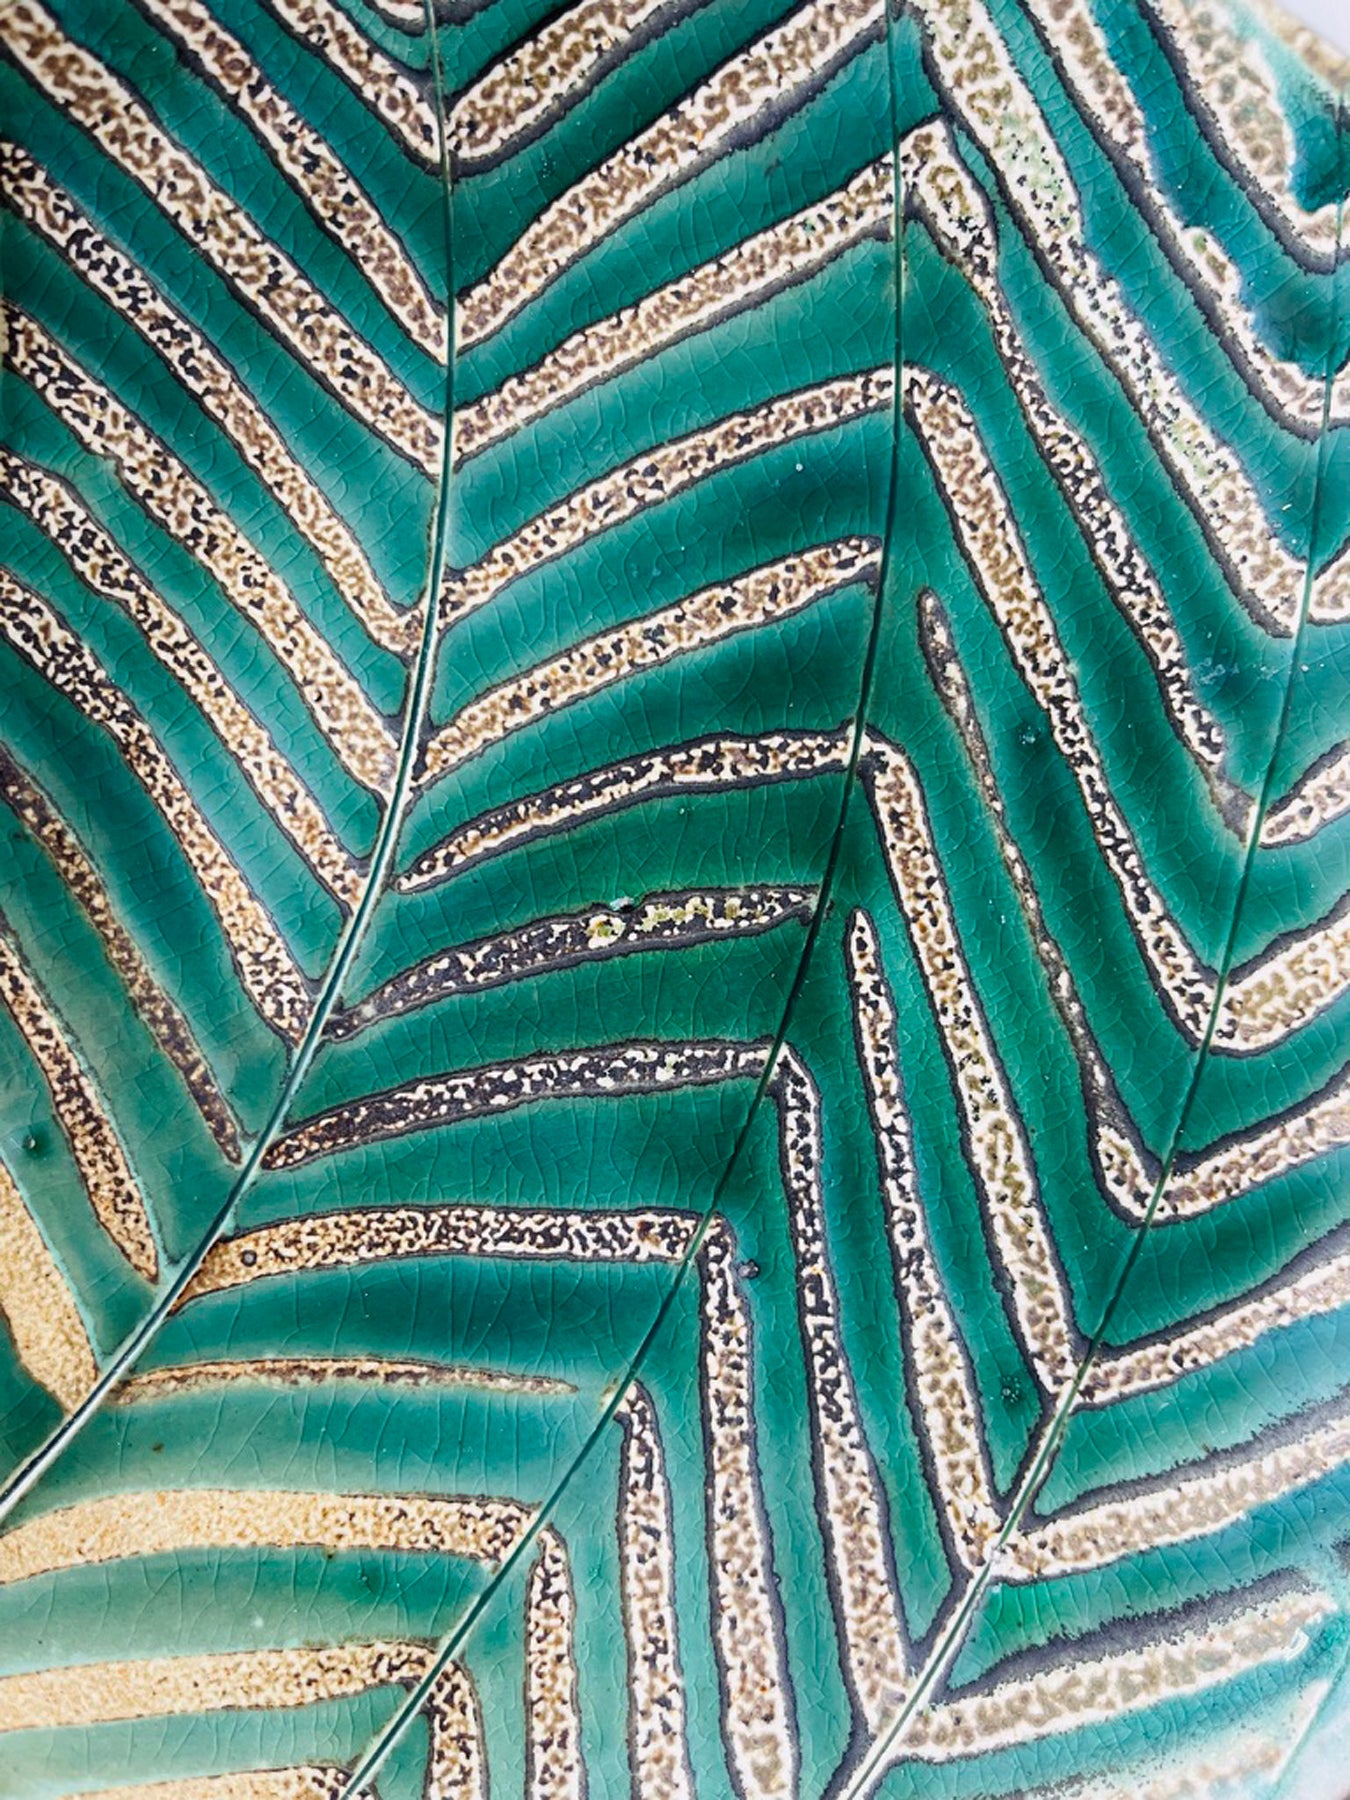
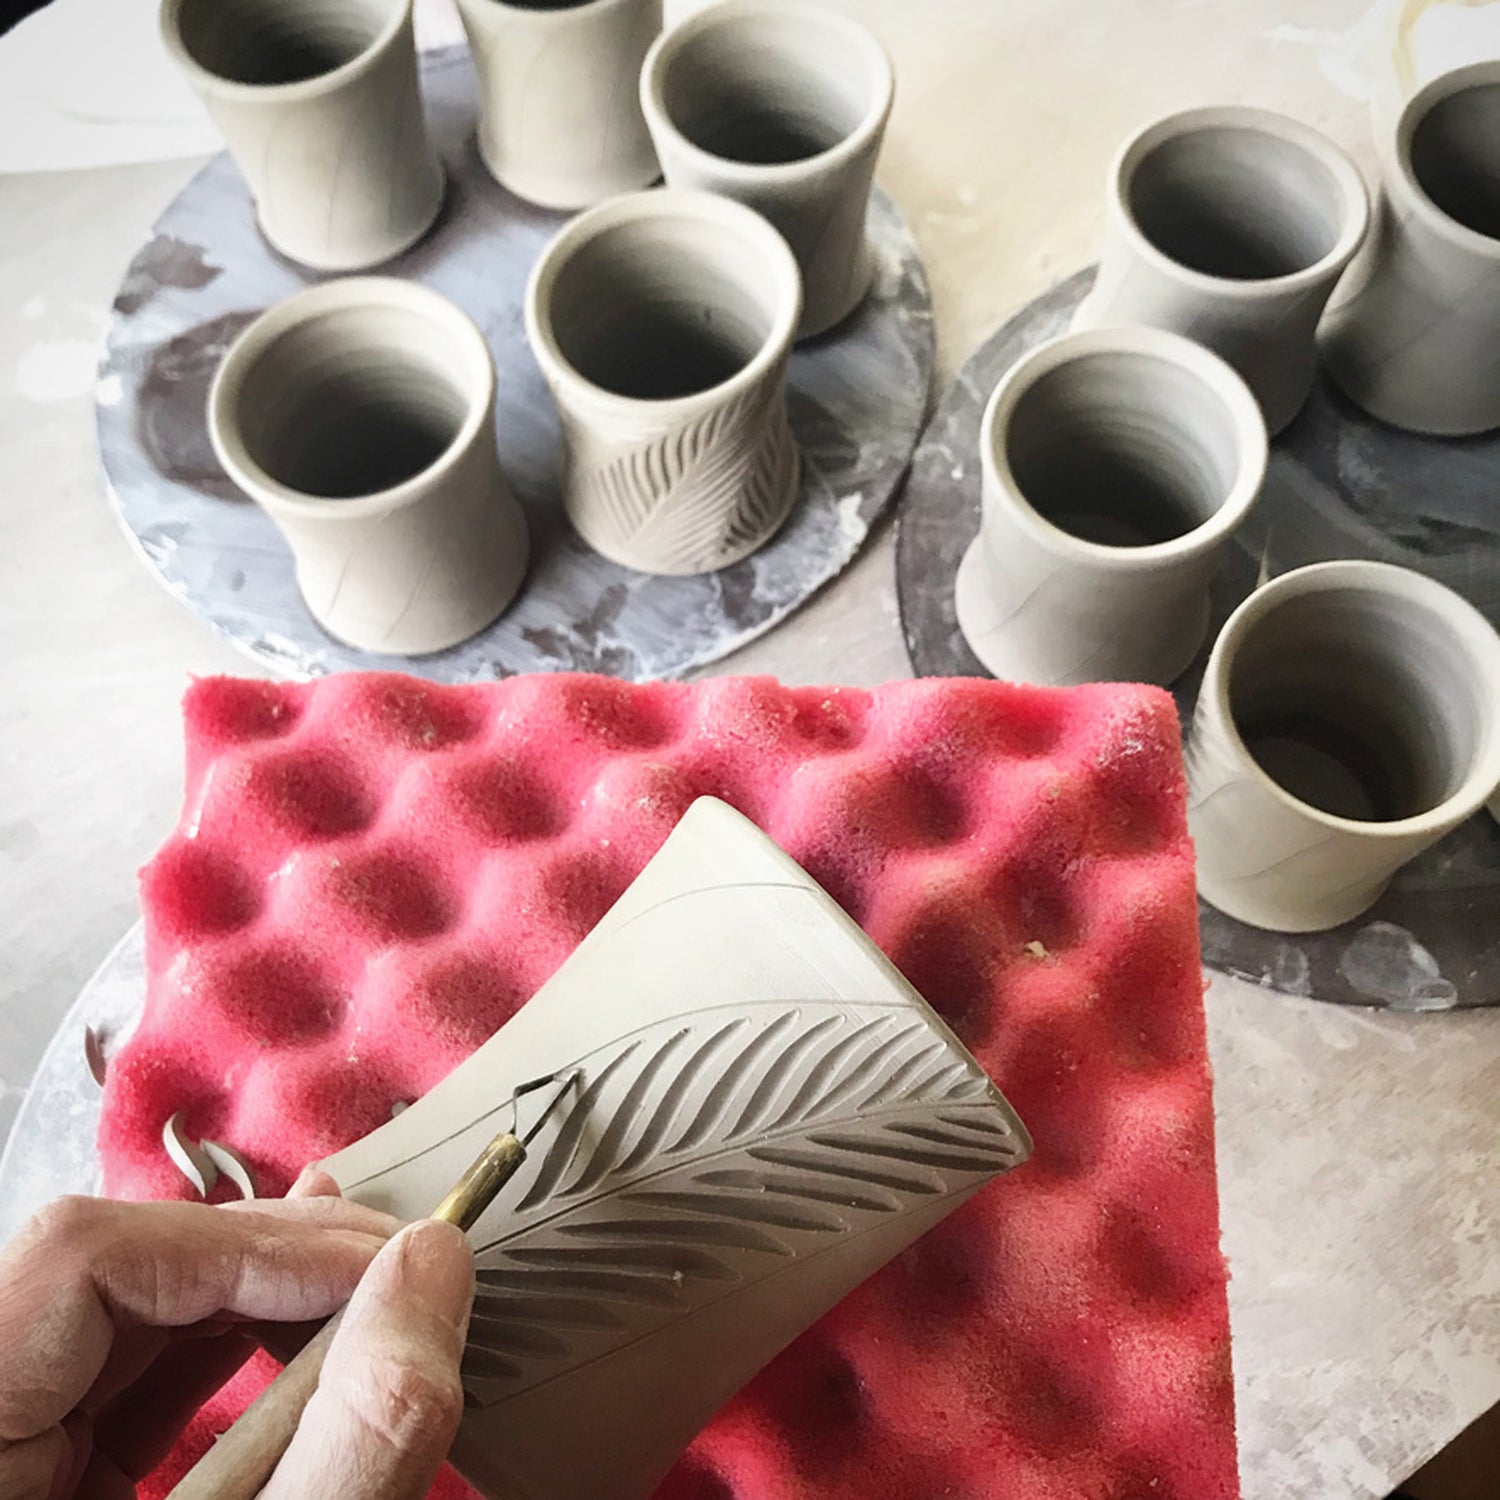
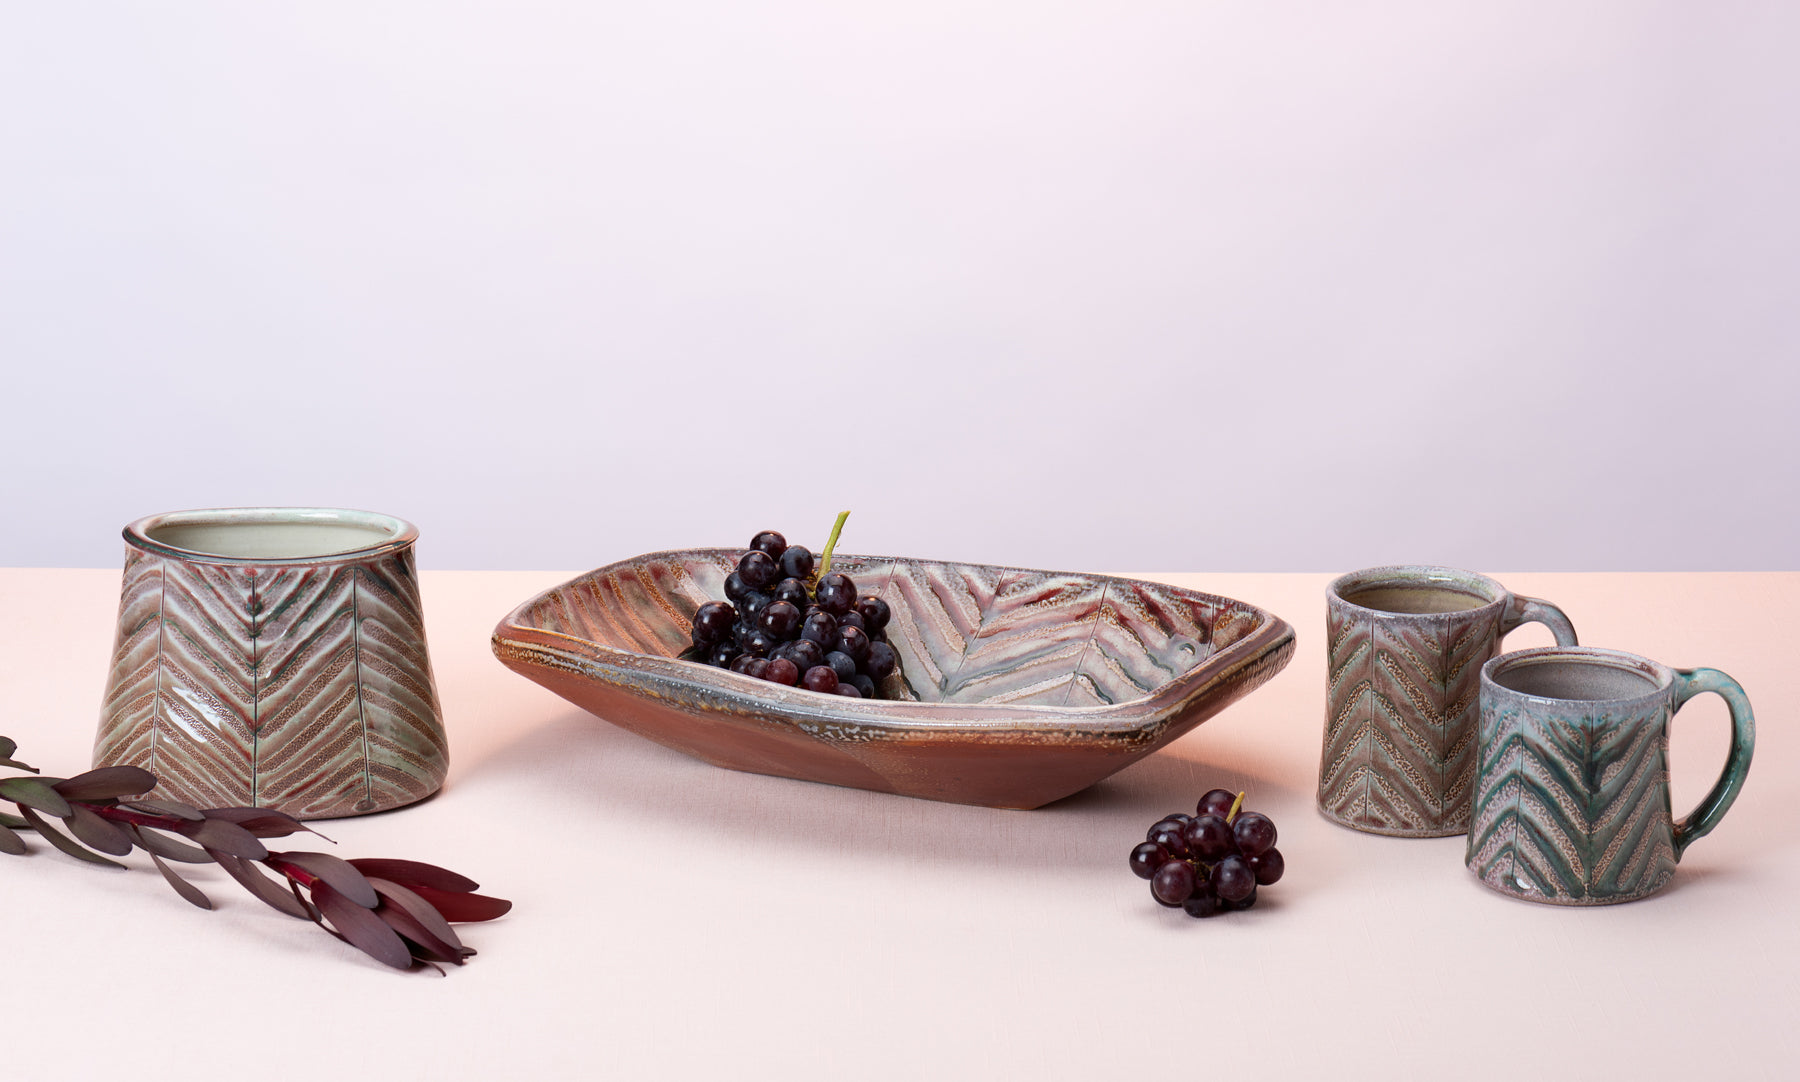
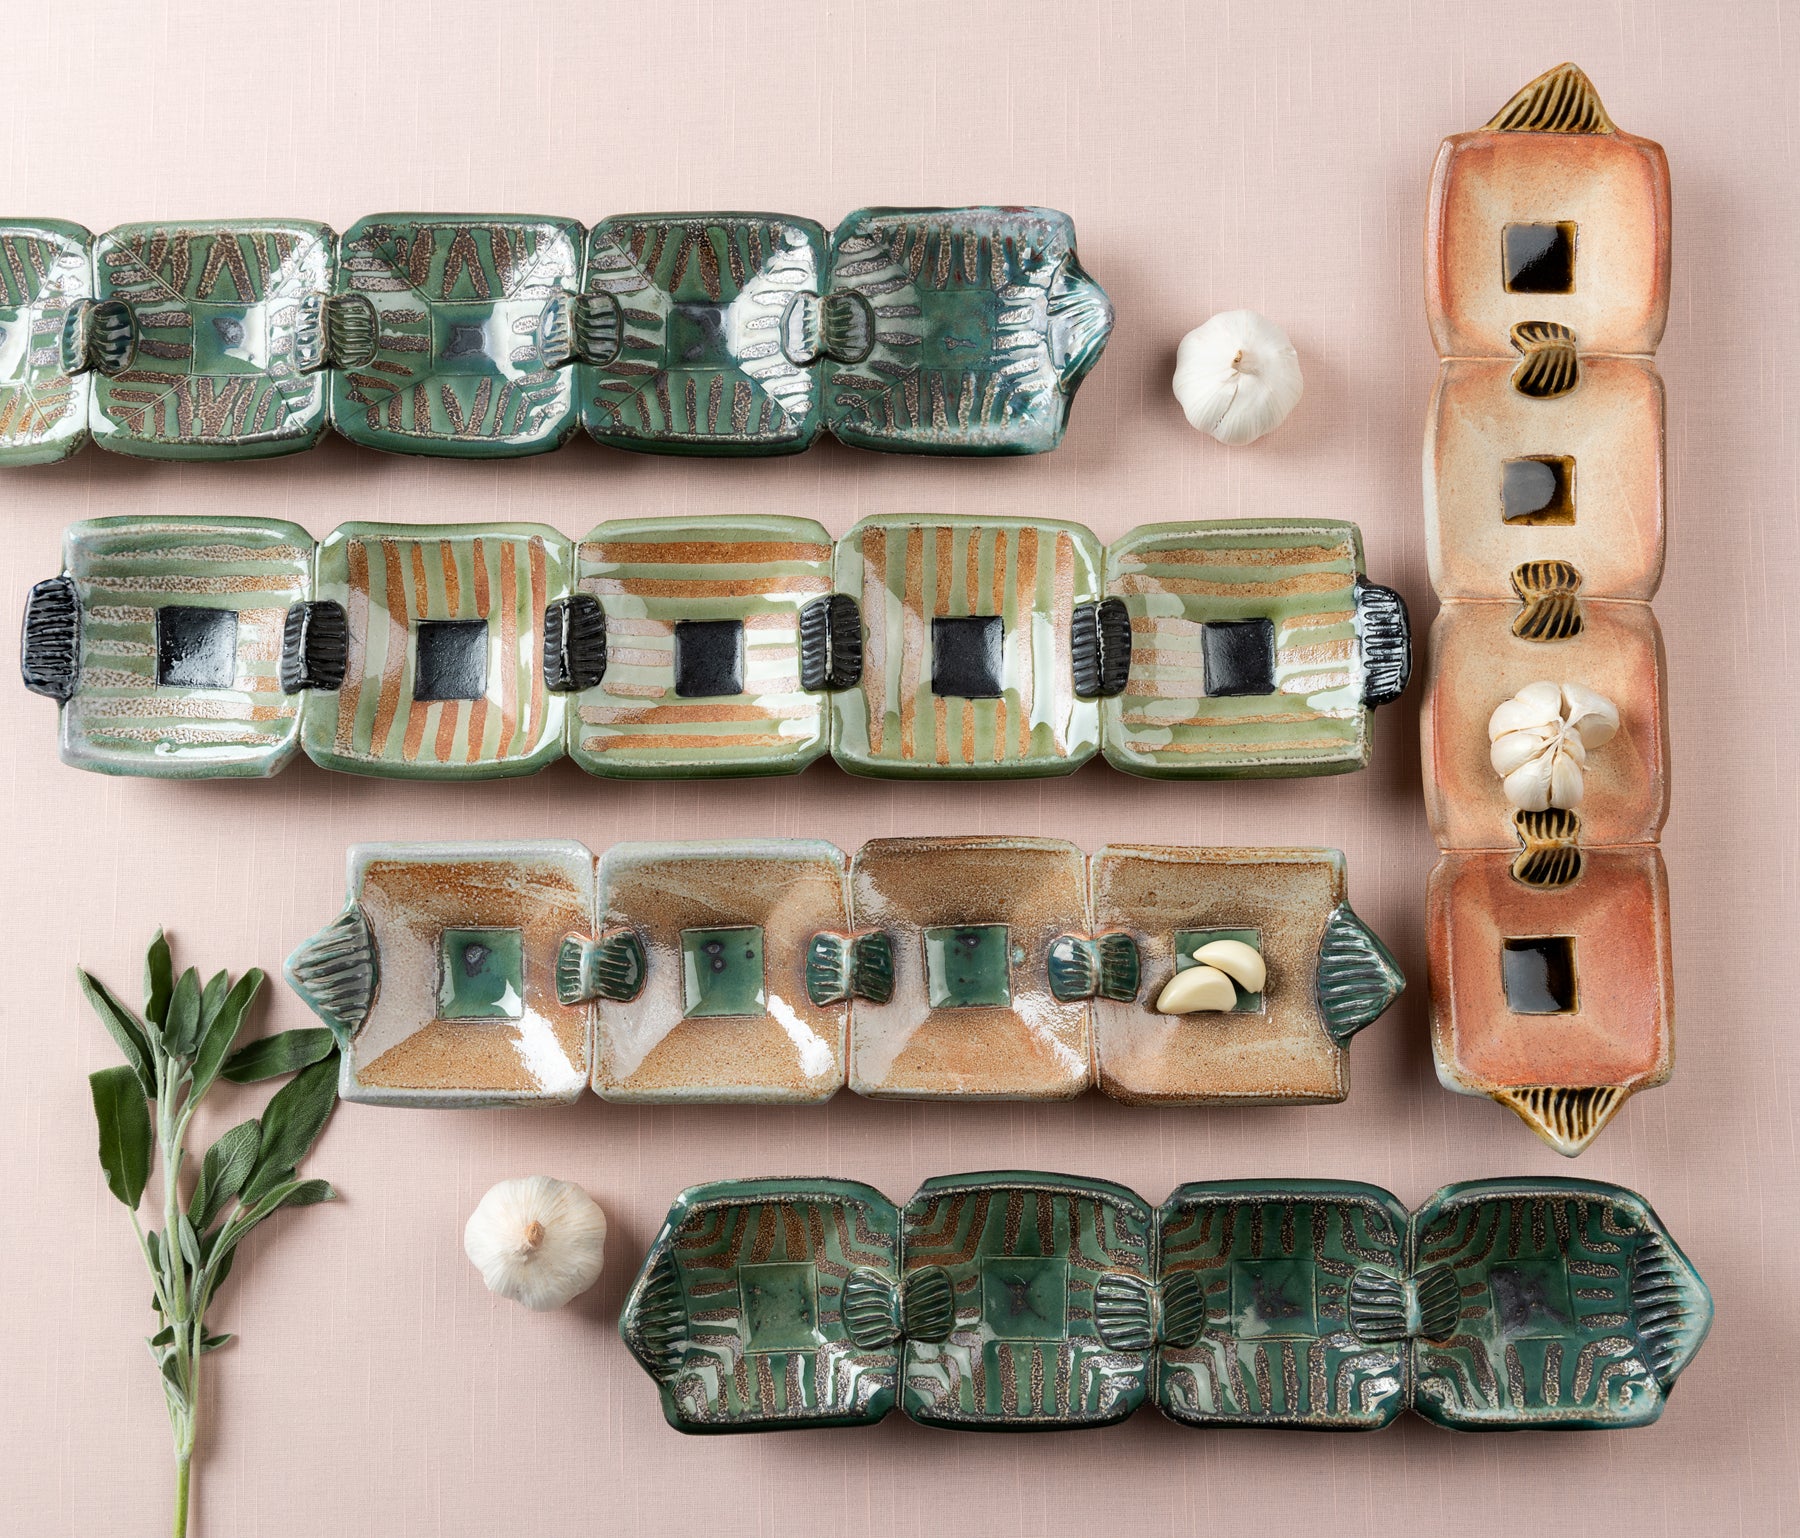
I use stoneware clay to create wheel thrown and hand built functional and decorative pottery. I enjoy incorporating elements of texture and pattern into my work that I carve, impress, or stamp into the clay at specific stages of the making. After each form is complete, when the clay is at a drying stage called leather-hard, the pieces are each dipped into flashing slips. These thin clay slips, or “coatings” create a flash of warm earth tones from the soda or wood firing in varied colors such as red, browns, and tans.
Once the pots are bone dry, they are bisque fired and then my glazing process begins. I line the interior of each pot with a food safe glaze, and brush or dip the exterior of the pot into glaze to decorate the carved or textured areas. Then each pot is set up on little balls of a mixture of clay and alumina, (called wadding), which helps the pot not stick to the shelf during the soda firing process. Then the pots are loaded into the kiln. I usually get about 150 pots into my 20 cubic ft soda kiln that I fire with gas to cone 10. It takes about 2 months to make enough pots to fill the kiln. I love the puzzle of loading the kiln; it’s one of my favorite parts of the process.
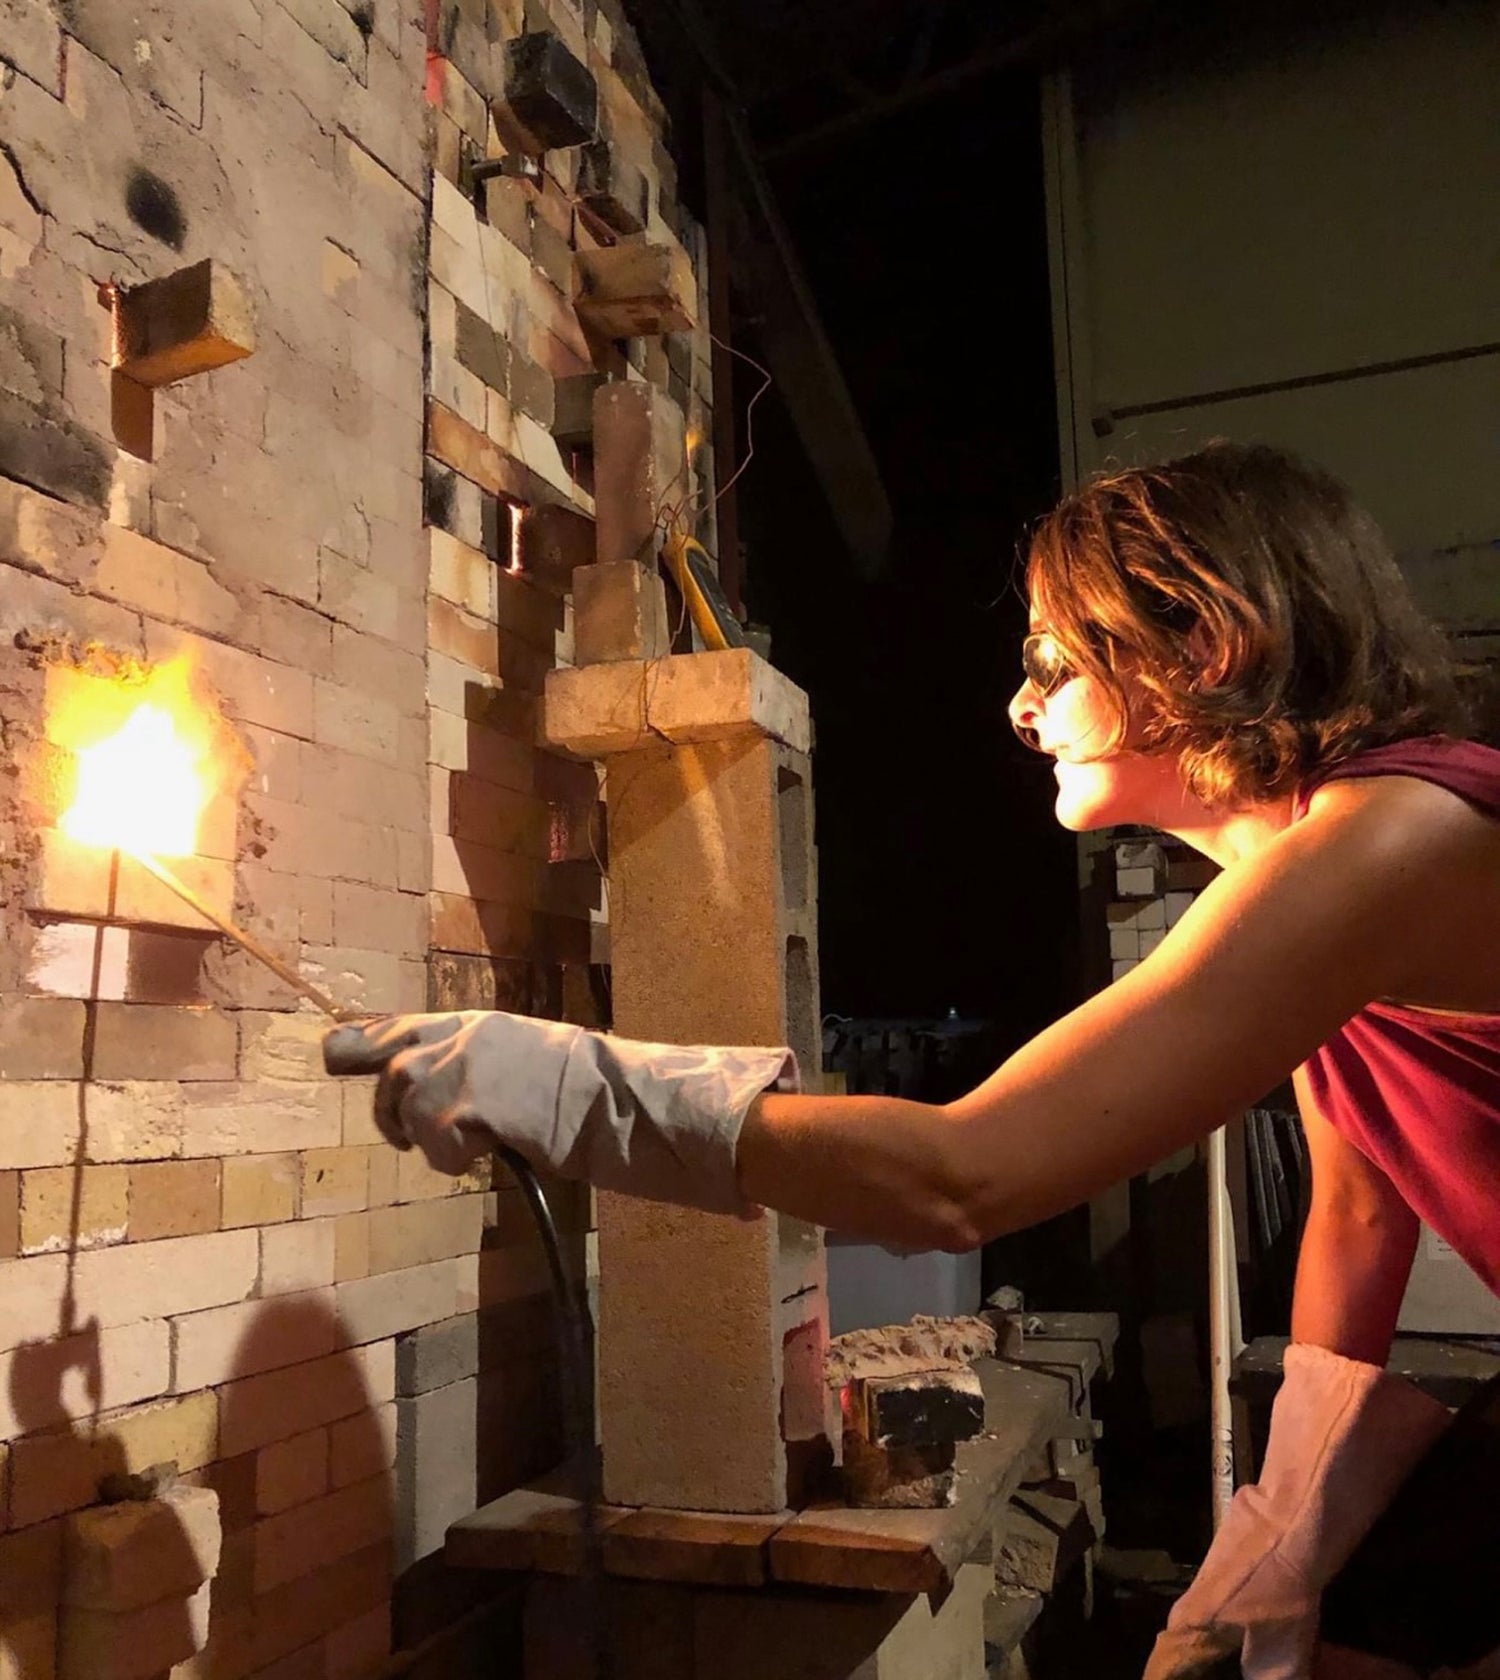
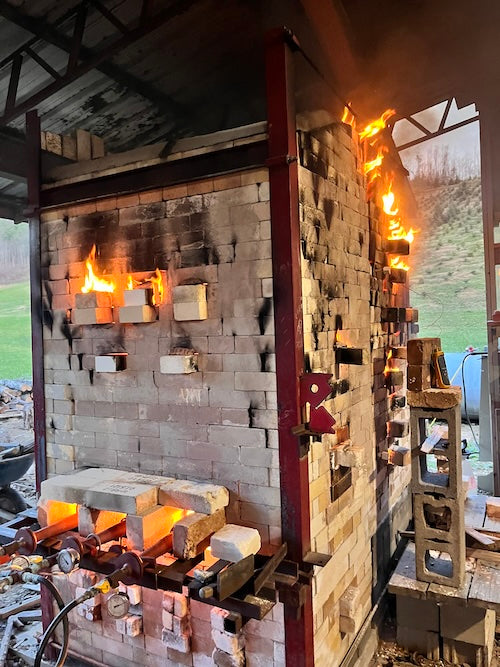
The firing takes about 24 hours. I watch the temperature and turn up the burners until it is around 2300 Fahrenheit. At the end of the firing, a soda ash and water mixture is sprayed into the brick ports around the kiln using a garden sprayer. The soda ash vaporizes and travels throughout the kiln, landing on the pots stacked within the shelves. The soda acts as a glaze on the pots, creating variation and directional tones within the clay surfaces. After the firing, the kiln cools for two days before the exciting unloading begins!